Difference between revisions of "Devices"
| Line 45: | Line 45: | ||
'''2. Add it to the list''' | '''2. Add it to the list''' | ||
:Next, view the source of [[Template:devices_ALL|this template]] and find the following appropriate place for your device to appear in the list. Then add the following line to the list of devices: | :Next, view the source of [[Template:devices_ALL|this template]] and find the following appropriate place for your device to appear in the list. Then add the following line to the list of devices: | ||
| − | + | ||
::<code><nowiki>{{device_CODENAME|function={{{function}}}}}</nowiki></code> | ::<code><nowiki>{{device_CODENAME|function={{{function}}}}}</nowiki></code> | ||
| − | + | ||
<!--T:17--> | <!--T:17--> | ||
:Then reload the page. You should now see a link where you added the line. | :Then reload the page. You should now see a link where you added the line. | ||
| Line 54: | Line 54: | ||
'''3. Create the device ''Info'' page''' | '''3. Create the device ''Info'' page''' | ||
:Click on the generated (red) link for the device. It should take you to the following empty "info" page: | :Click on the generated (red) link for the device. It should take you to the following empty "info" page: | ||
| − | + | ||
::<code>CODENAME_Info</code> | ::<code>CODENAME_Info</code> | ||
| − | + | ||
<!--T:19--> | <!--T:19--> | ||
:In this page, simply insert the following single line of content: | :In this page, simply insert the following single line of content: | ||
| − | + | ||
::<code><nowiki>{{device_CODENAME|function=device_info}}</nowiki></code> | ::<code><nowiki>{{device_CODENAME|function=device_info}}</nowiki></code> | ||
| − | + | ||
<!--T:20--> | <!--T:20--> | ||
'''4. Create the device ''How To Install'' page''' | '''4. Create the device ''How To Install'' page''' | ||
:From the device Info page created in the previous step, on the (red) auto-generated link for the device installation instructions. It should take you to the following empty "How To Install" page: | :From the device Info page created in the previous step, on the (red) auto-generated link for the device installation instructions. It should take you to the following empty "How To Install" page: | ||
| − | + | ||
::<code>Install_WOP_for_CODENAME</code> | ::<code>Install_WOP_for_CODENAME</code> | ||
| − | + | ||
<!--T:21--> | <!--T:21--> | ||
:In this page, simply insert the following single line of content: | :In this page, simply insert the following single line of content: | ||
| − | + | ||
::<code><nowiki>{{device_CODENAME|function=device_install}}</nowiki></code> | ::<code><nowiki>{{device_CODENAME|function=device_install}}</nowiki></code> | ||
| − | + | ||
<!--T:22--> | <!--T:22--> | ||
:Save the page. You now should see an auto-generated installation walkthrough page for the device. | :Save the page. You now should see an auto-generated installation walkthrough page for the device. | ||
| Line 79: | Line 79: | ||
'''5. Create the device ''Build Walkthrough'' page''' | '''5. Create the device ''Build Walkthrough'' page''' | ||
:Next, to auto-generate a We build guide for this device, scroll to the bottom where it links (in red) to the Build Walkthrough for the device. It should take you to an empty "build for" page: | :Next, to auto-generate a We build guide for this device, scroll to the bottom where it links (in red) to the Build Walkthrough for the device. It should take you to an empty "build for" page: | ||
| − | + | ||
::<code>Build_for_CODENAME</code> | ::<code>Build_for_CODENAME</code> | ||
| − | + | ||
<!--T:24--> | <!--T:24--> | ||
:In this page, simple insert the following single line of content: | :In this page, simple insert the following single line of content: | ||
| − | + | ||
::<code><nowiki>{{device_CODENAME|function=device_build}}</nowiki></code> | ::<code><nowiki>{{device_CODENAME|function=device_build}}</nowiki></code> | ||
| − | + | ||
<!--T:25--> | <!--T:25--> | ||
'''That's it!''' | '''That's it!''' | ||
| − | + | ||
</div></div> | </div></div> | ||
Revision as of 21:30, 21 May 2013
Officially-supported WebOS Ports devices
Helpful Tip
Choose a filter criteria (i.e., select from the vendor options) to view the specified devices.
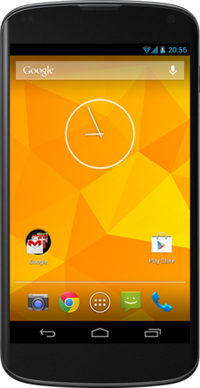 Google Nexus 4
Mako
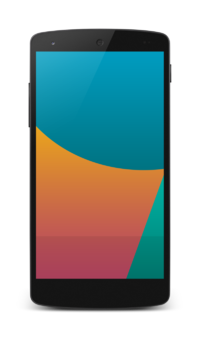 Google Nexus 5
Hammerhead
 Google Nexus 7 (Wi-Fi, 2012 version)
Grouper
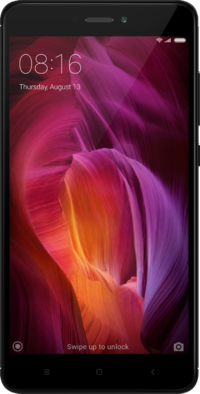 Xiaomi Redmi Note 4X
Mido
 Xiaomi Redmi 5
Rosy
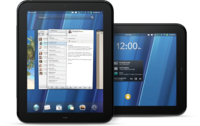 Hewlett Packard Touchpad
Tenderloin
 Xiaomi A1
Tissot
 WebOS Ports LuneOS VirtualBox Emulator
qemux86
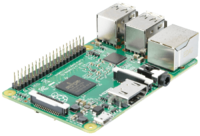 Raspberry Pi Foundation Raspberry Pi 2
RaspberryPi2
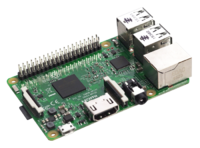 Raspberry Pi Foundation Raspberry Pi 3
RaspberryPi3
 Pine64 PinePhone
PinePhone
 Pine64 PinePhonePro
PinePhonePro
Pine64 PineTab2
PineTab2
Unofficial ports & projects
Don't see your device in the list above?
WebOS Ports is an open source project and many are encouraged to port to various devices. Many of these for one reason or another are not yet "officially recognized" (and do not have official builds), but it may be good to know they exist.
The list of unofficially-ported devices
Add a new official device to the wiki
Select [Expand] to the right for instructions.
Note:
1. Set up the device template
- The device template is the "universal settings" template, one per device. Copy the generic device template, then paste it into a new page with following template name:
Template:device_CODENAME
- (Example: Template:device_grouper for the Nexus 7 tablet.)
- Then edit the form, filling in as many fields as you are able, and save the new template you have created. (EDIT THE NEW TEMPLATE FOR YOUR DEVICE. DO NOT EDIT THE GENERIC BLANK ITSELF!)
2. Add it to the list
- Next, view the source of this template and find the following appropriate place for your device to appear in the list. Then add the following line to the list of devices:
{{device_CODENAME|function={{{function}}}}}
- Then reload the page. You should now see a link where you added the line.
3. Create the device Info page
- Click on the generated (red) link for the device. It should take you to the following empty "info" page:
CODENAME_Info
- In this page, simply insert the following single line of content:
{{device_CODENAME|function=device_info}}
4. Create the device How To Install page
- From the device Info page created in the previous step, on the (red) auto-generated link for the device installation instructions. It should take you to the following empty "How To Install" page:
Install_WOP_for_CODENAME
- In this page, simply insert the following single line of content:
{{device_CODENAME|function=device_install}}
- Save the page. You now should see an auto-generated installation walkthrough page for the device.
5. Create the device Build Walkthrough page
- Next, to auto-generate a We build guide for this device, scroll to the bottom where it links (in red) to the Build Walkthrough for the device. It should take you to an empty "build for" page:
Build_for_CODENAME
- In this page, simple insert the following single line of content:
{{device_CODENAME|function=device_build}}
That's it!